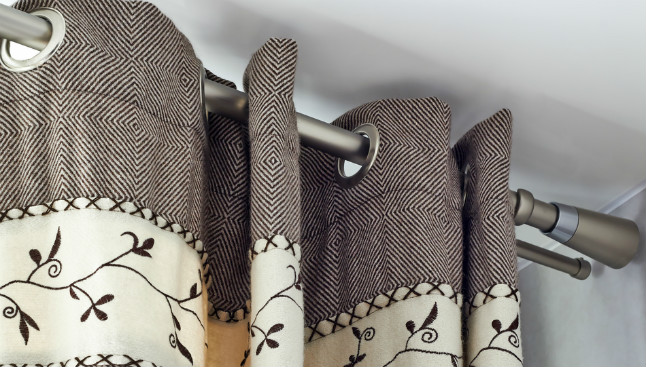
What you will need:
Your curtain pole (with finials)
Your curtains (or if not possible, make a note of the length of your curtains)
A metal tape measure (avoid plastic ones as they can stretch)
A pencil
Brackets
A drill
Rawl Plugs
A small hammer
Screws & Screwdriver
Step 1. Pole Position: The Height
Firstly, ensure that your curtains will not hang too short once you’ve fitted them onto the pole.
Whether you’ve decided on standard-length curtains or full-length, if your curtain pole is positioned too high it will create a gap between the bottom hem of the curtain and the top of the window-sill (or the floor if you’re going for full length).
Take this opportunity to measure the length of the curtains you want to hang just to be sure.
When it comes to fitting the pole, it is a good guide is that most poles can often be fitted approximately 12-15cm above the window. Sometimes poles can be fitted directly onto the window frame depending on the frame, but positioning your pole 15-20cm above the window frame reduces the amount of light that can shine in around the top of the window when the curtains are drawn.
Be aware that your curtains will hang from the hoops on the pole, not the pole itself. So they will hang a centimeter or so lower than the pole itself.
Tip: It is much easier to check that you’re hanging the curtains at the right height if you have someone to help you. One of you can hold the curtain against the window at a suggested height while the other stands back to check the curtain is falling to the correct position.
Step 2. Pole Position: The Width
When it comes to the width of your curtain pole, again it’s often useful to use the ’15-20cm’ guide. In this instance, the curtain pole should be 15-20cms wider (longer) than your window. This gives you the option to tie back the curtains.
Tip: At this point it’s really important to bear in mind the measurements of the finials (the knobs that attach onto the ends of the pole), and make sure you leave additional space for these in your measurements.
Step 3. Getting Fixed Up
This is where you require the brackets for attaching your pole to the wall. As a general rule, if your pole is under 180cm long (width), then you should only require two brackets. If your pole is longer than this, then it is advisable to use a third central bracket in the middle.
To position the brackets, measure two inches out from the top of your window frame on each side and mark the spots lightly in pencil. Then measure 3 inches upwards from those first pencil marks, and again mark those spots: this is where your brackets will sit.
Hold one of the brackets up to the wall on the spot where you’re going to attach it and mark the screw holes in the bracket with a pencil. Repeat for all brackets being used.
You will then need to drill the number of holes necessary to attach the brackets you’re using.
Tip: Select a drill bit that will make a hole that is slightly smaller than the rawl plugs you’re going to use. This way the rawl plug will fit snugly into the hole.
Centre the point of the drill onto the pencil marks you made inside the bracket screw holes and gently drill into the wall. Once all the holes are drilled, tap your rawl plugs in (you may need a small hammer to carefully coax them in).
Hold the brackets up against the wall so that the screw holes are lined up with the rawl plugs. Place a screw into the hole and twist in with your fingers before tightening them up with a screwdriver or a suitable drill bit.
Step 4: The Finishing Line
You are now ready to place your curtain pole into the brackets, once you’ve attached your curtains to the pole.
Tip: If you want your curtains to go right to the edge of the pole, then remember to leave one or two hoops on the short length of the pole that sits on the outside of your brackets. Otherwise, when you come to attach your curtains to the hoops, the curtains will all sit within the width of the brackets.


